Insert Infills
Infills may be inserted from the main menu (Insert >...) or through the corresponding toolbar button ![]() .
.
Once the insert infill is selected, its Properties Window appears on the right-hand side of the screen.
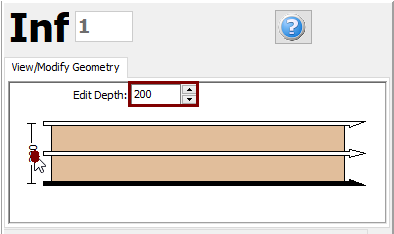
On the infill's Properties Window users can adapt the section’s dimensions in the View/Modify Geometry window.
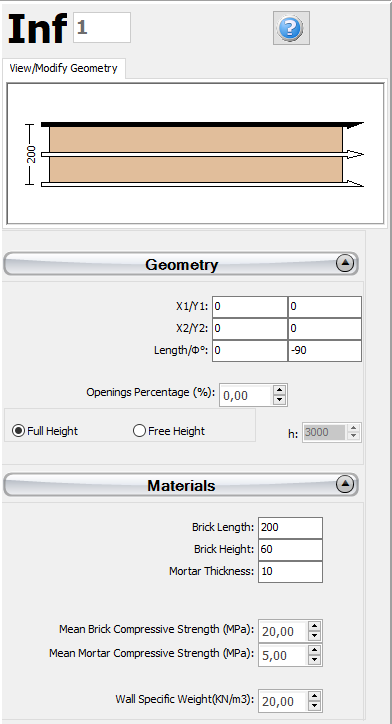
On the Properties Window that appears, users can adapt the main parameters that affect the strength and stiffness of the new infill.
- The brick dimensions, length and height
- The mortar thickness
- The brick and mortar compressive strengths
- The percentage of the openings on the wall and
- The wall specific weight.
It is possible to define an infill height different from the general storey height, through the selection of the Free Height radio button and the assignment of its height. When this option is selected the neighbouring columns are automatically subdivided in shorter members by the program. If, on the other hand, the Full Height radio button is selected then the member has the same height with the storey height.
After defining all the section's properties, the new member may be inserted graphically with two mouse clicks on the building's plan view that outline the start and the end of the infill. The inserting line can lie at the centre or at either of the two sides of the infill; this can be determined by clicking on any of the three lines on the View/Modify Geometry window (the black line is the selected option).

When an assigned infill intersects an existing column or wall, it is automatically subdivided and two members are thus created. Consequently, several infills may be defined in a row with just two clicks.