Edit Members
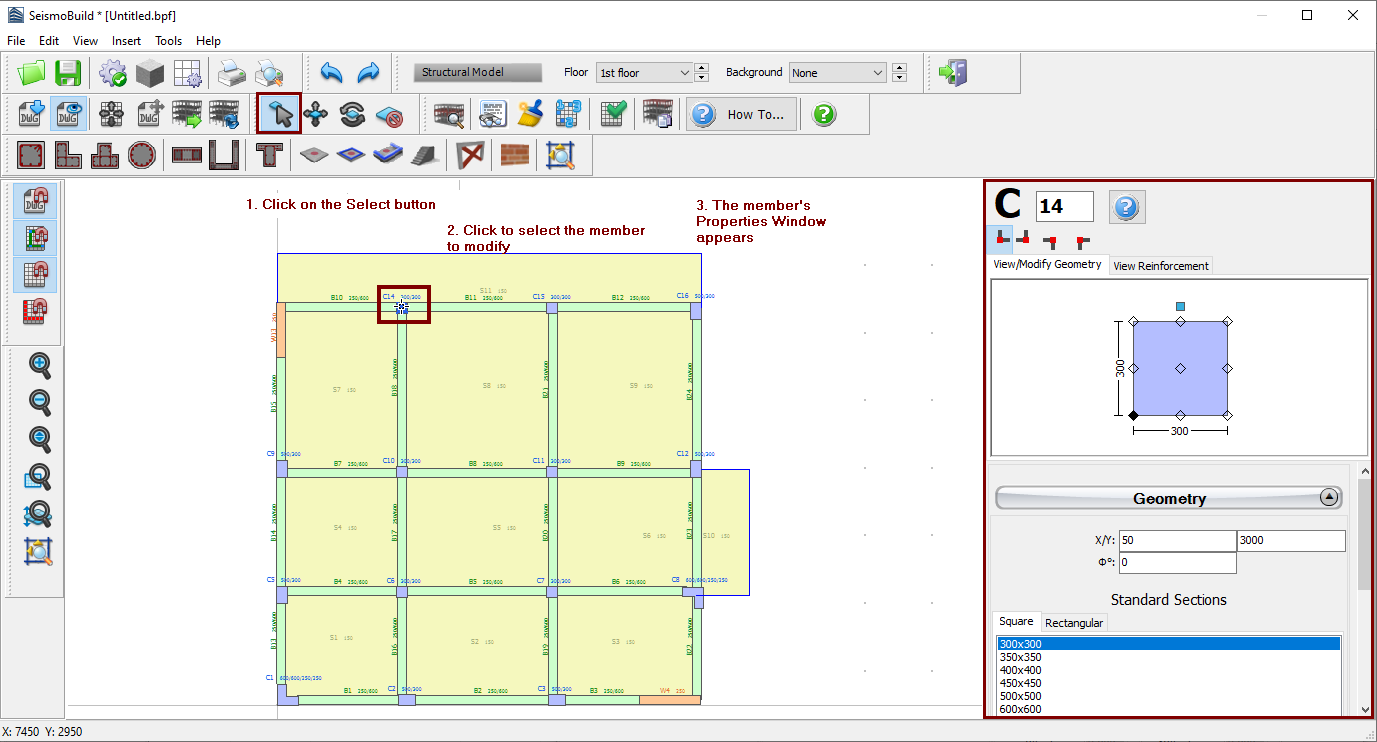
All the structural members can be further modified after their insertion. Users should first use the Select tool from the Menu (Tools > Select) , through the corresponding toolbar button  , or simply by clicking on the Space button, and then click on the member. Once selected, the member's Properties Window appears on the right-hand side of the screen and users may modify its properties.
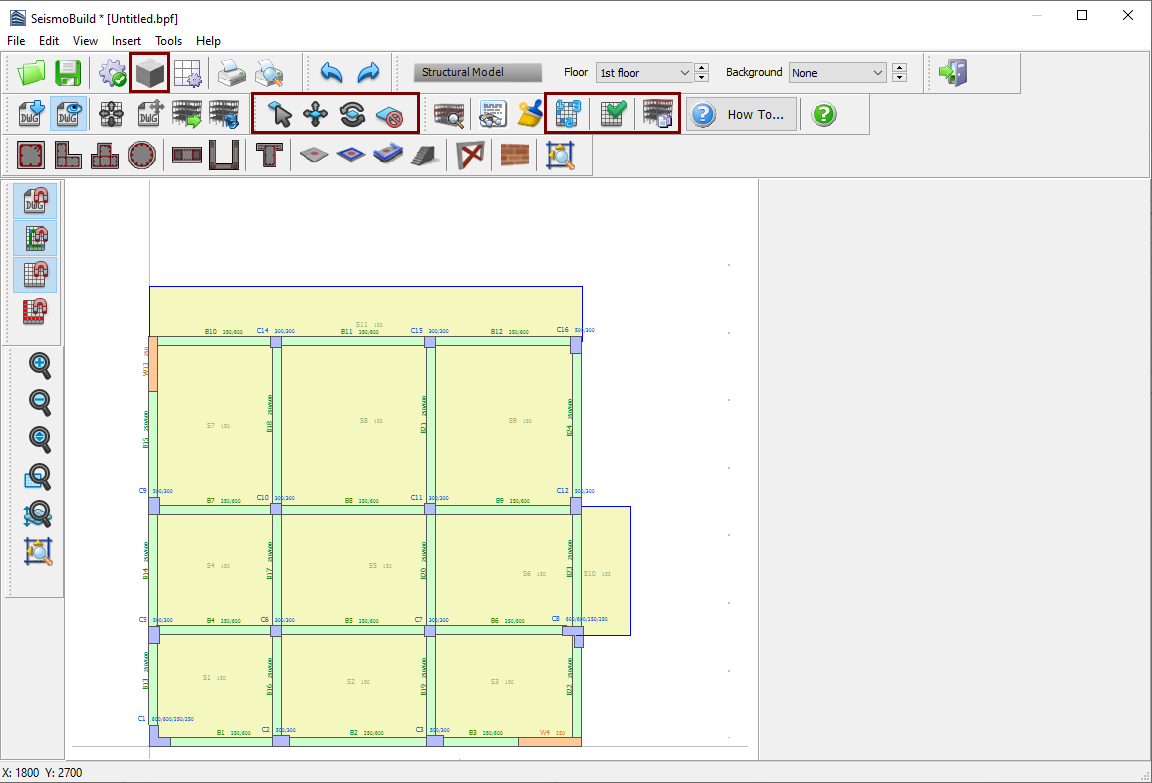
By using the other editing tools, defined in the Menu (Tools >...) or through the corresponding toolbar buttons, users can move a member to a different location ( ), rotate it on plan view (
 ) or delete it (
 ).
).
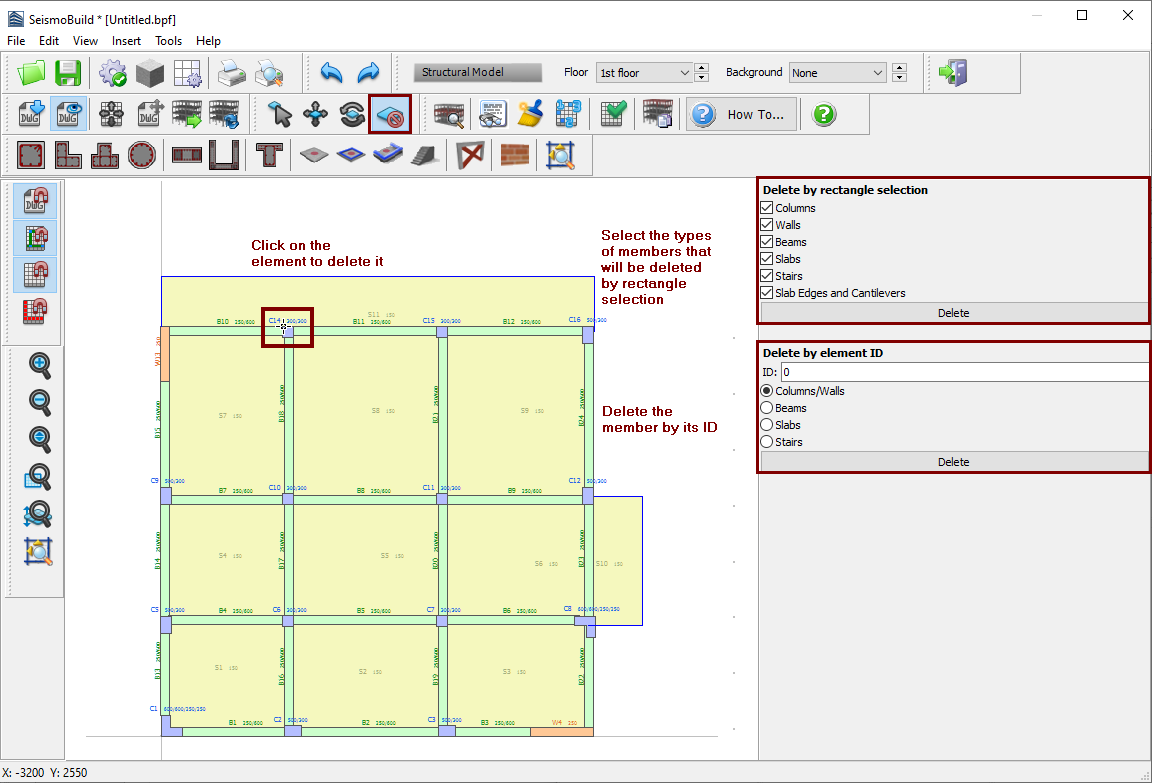
It is noted that there is a number of ways to delete elements: (i) by clicking on the element (ii) by its name (select the member's type, assign its number ID and click the Delete button) or (iii) by selecting a rectangular area on the Main Window (select the member types that will be deleted, select an area of the model on the Main Window and click the Delete button).
Finally, a check from the main menu (Tools > Verify Connectivity) or through the corresponding toolbar button  for the existence of any beam with free span smaller than its static height should be carried out when the modelling is completed, in order to check for the existence of very short beams that might have been created unintentionally (due to graphical reasons). If such beams exist, a message appears.
